Web Services
In a connected world, a ticket system needs to be able to react to requests from other systems and also to send requests or information to other systems:
- CRM systems
- Project management systems
- Documentation management systems
- and many more
The ticket system must be reachable by other services without manual intervention by an agent.
OTOBO supports this requirement by the Generic Interface. It empowers the administrator to create a web service for a specific task without scripting language knowledge. OTOBO reacts on incoming REST or SOAP requests and create objects or provides object data to other systems transparently.
A web service is a communication method between two systems, in our case OTOBO and a remote system. In its configuration, the operation or invoker determine the direction of communication, and the mapping and transport take care of how the data is received and interpreted.
In its configuration it can be defined what actions the web service can perform internally (operation), what actions the OTOBO request can perform remote system (invokers), how data is converted from one system to the other (mapping), and over which protocol the communication will take place (transport).
The generic interface is the framework that makes it possible to create web services for OTOBO in a predefined way, using already made building blocks that are independent from each other and interchangeable.
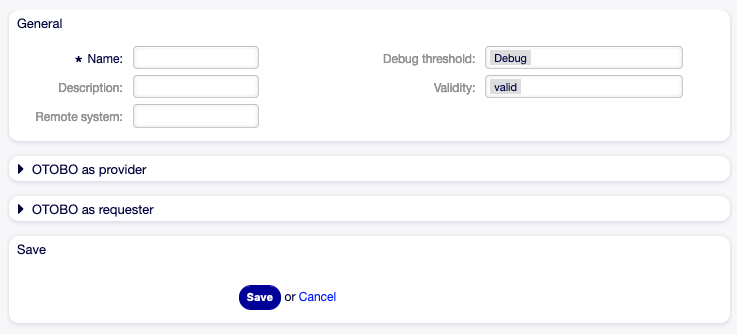
Use this screen to manage web services in the system. A fresh OTOBO installation contains no web service by default. The web service management screen is available in the Web Services module of the Processes & Automation group.

Web Service Management Screen
Manage Web Services
To create a web service:
- Click on the Add Web Service button in the left sidebar.
- Fill in the required fields.
- Click on the Save button.
Create New Web Service Screen
To edit a web service:
- Click on a web service in the list of web services.
- Modify the fields.
- Click on the Save or Save and finish button.
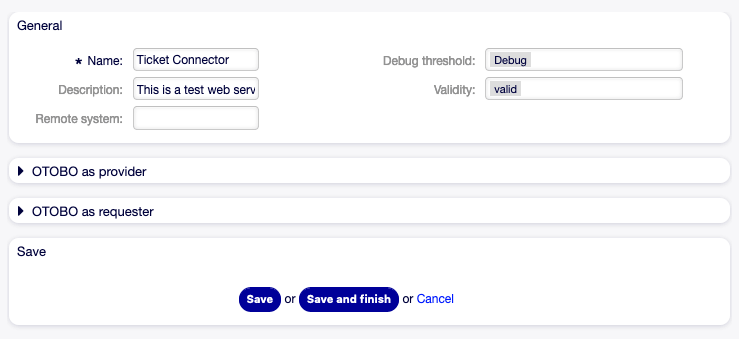
Edit Web Service Screen
To delete a web service:
- Click on a web service in the list of web services.
- Click on the Delete Web Service button in the left sidebar.
- Click on the Delete button in the confirmation dialog.
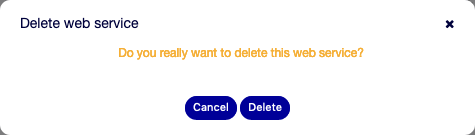
Delete Web Service Screen
To clone a web service:
- Click on a web service in the list of web services.
- Click on the Clone Web Service button in the left sidebar.
- Enter a new name for the web service.

Clone Web Service Screen
To export a web service:
- Click on a web service in the list of web services.
- Click on the Export Web Service button in the left sidebar.
- Choose a location in your computer to save the
Export_ACL.ymlfile.
Warning
All stored passwords in the web service configuration will be exported in plain text format.
To see the configuration history of a web service:
- Click on a web service in the list of web services.
- Click on the Configuration History button in the left sidebar.

Web Service Configuration History Screen
To use the debugger for a web service:
- Click on a web service in the list of web services.
- Click on the Debugger button in the left sidebar.
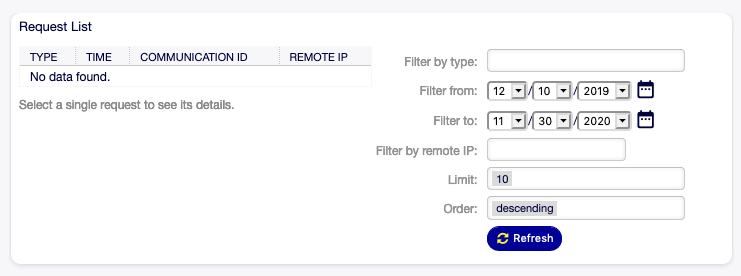
Web Service Debugger Screen
To import a web service:
- Click on the Add Web Service button in the left sidebar.
- Click on the Import Web Service button in the left sidebar.
- Click on the Browse… button in the dialog.
- Select a previously exported
.ymlfile. - Add a name for the imported web service (optional). Otherwise the name will be taken from the configuration file name.
- Click on the Import button.
Web Service Settings
The following settings are available when adding or editing this resource. The fields marked with an asterisk are mandatory.
General Web Service Settings
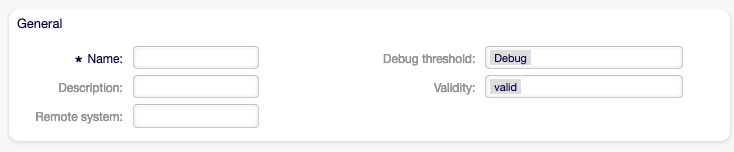
Web Service Settings - General
- Name *
- The name of this resource. Any type of characters can be entered to this field including uppercase letters and spaces. The name will be displayed in the overview table.
- Description
- Like comment, but longer text can be added here.
- Remote system
- Debug threshold
The default value is Debug. When configured in this manner all communication logs are registered in the database. Each subsequent debug threshold value is more restrictive and discards communication logs of lower order than the one set in the system.
Debug threshold levels (from lower to upper):
- Debug
- Info
- Notice
- Error
- Validity
- Set the validity of this resource. Each resource can be used in OTOBO only, if this field is set to valid. Setting this field to invalid or invalid-temporarily will disable the use of the resource.
Provider Web Service Settings
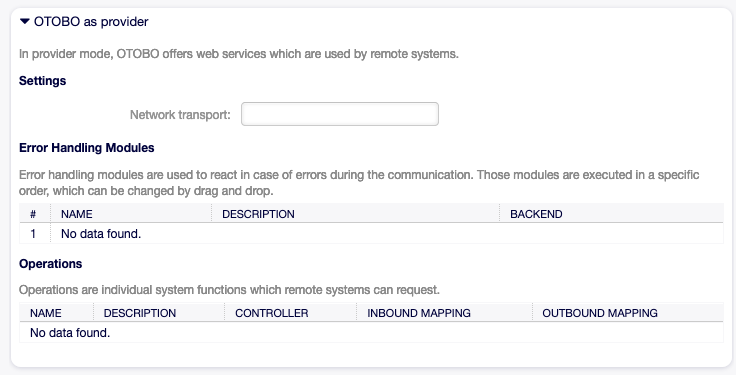
Web Service Settings - OTOBO as Provider
- Network transport
Select which network transport would you like to use with the web service. Possible values are HTTP::REST and HTTP::SOAP.
Note
After selecting the transport method, you have to save the configuration with clicking on the Save button. A Configuration button will be displayed next to this field.
- Configuration
- The Configuration button is visible only, after a network transport was selected and saved. See the configuration for OTOBO as Provider - HTTP::REST and OTOBO as Provider - HTTP::SOAP below.
- Add Operation
This option is visible only, after a network transport was selected and saved. Selecting an operation will open a new screen for its configuration.
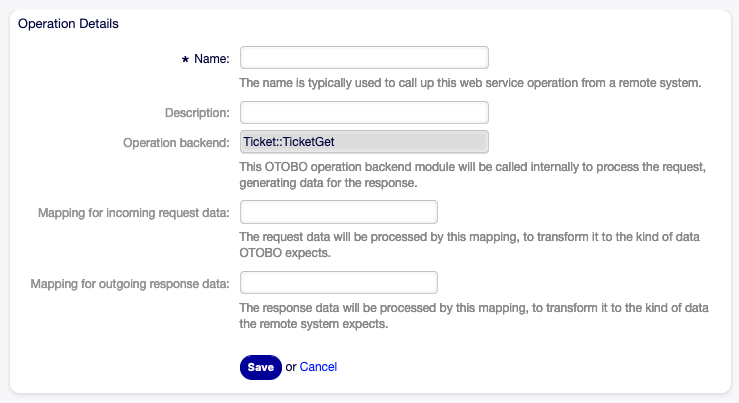
Web Service Settings - OTOBO as Provider - Operation
OTOBO as Provider - HTTP::REST
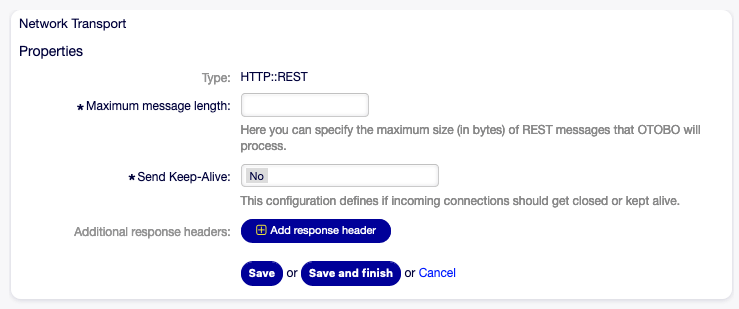
Web Service Settings - OTOBO as Provider - HTTP::REST
OTOBO as Provider - HTTP::SOAP
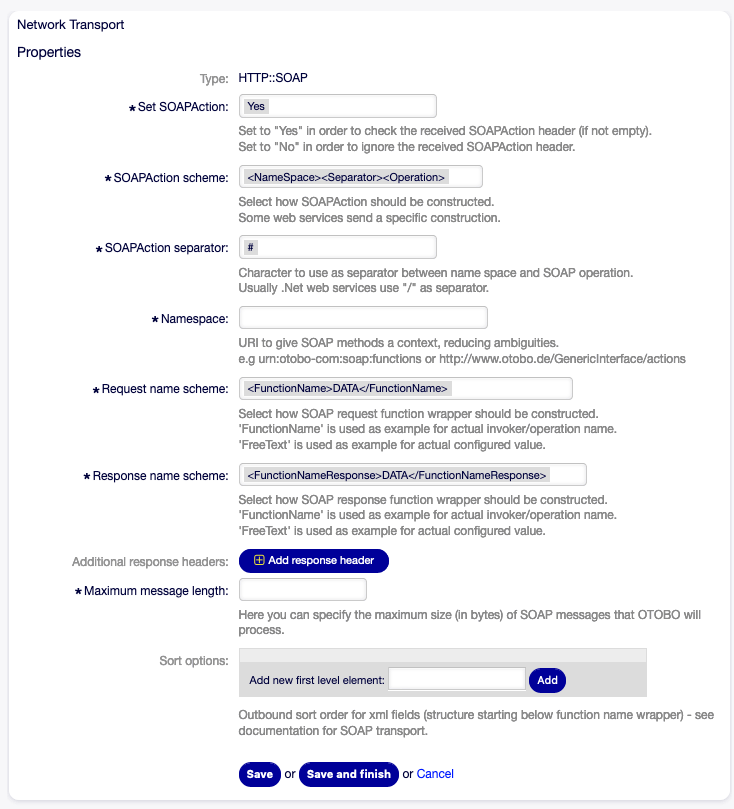
Web Service Settings - OTOBO as Provider - HTTP::SOAP
Requester Web Service Settings
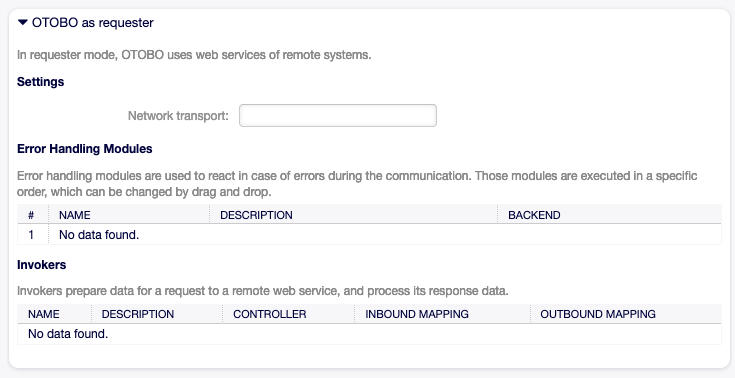
Web Service Settings - OTOBO as Requester
- Network transport
Select which network transport would you like to use with the web service. Possible values are HTTP::REST and HTTP::SOAP.
Note
After selecting the transport method, you have to save the configuration with clicking on the Save button. A Configuration button will be displayed next to this field.
- Configuration
- The Configuration button is visible only, after a network transport was selected and saved. See the configuration for OTOBO as Requester - HTTP::REST and OTOBO as Requester - HTTP::SOAP below.
- Add error handling module
This option is visible only, after a network transport was selected and saved. Selecting an operation will open a new screen for its configuration.
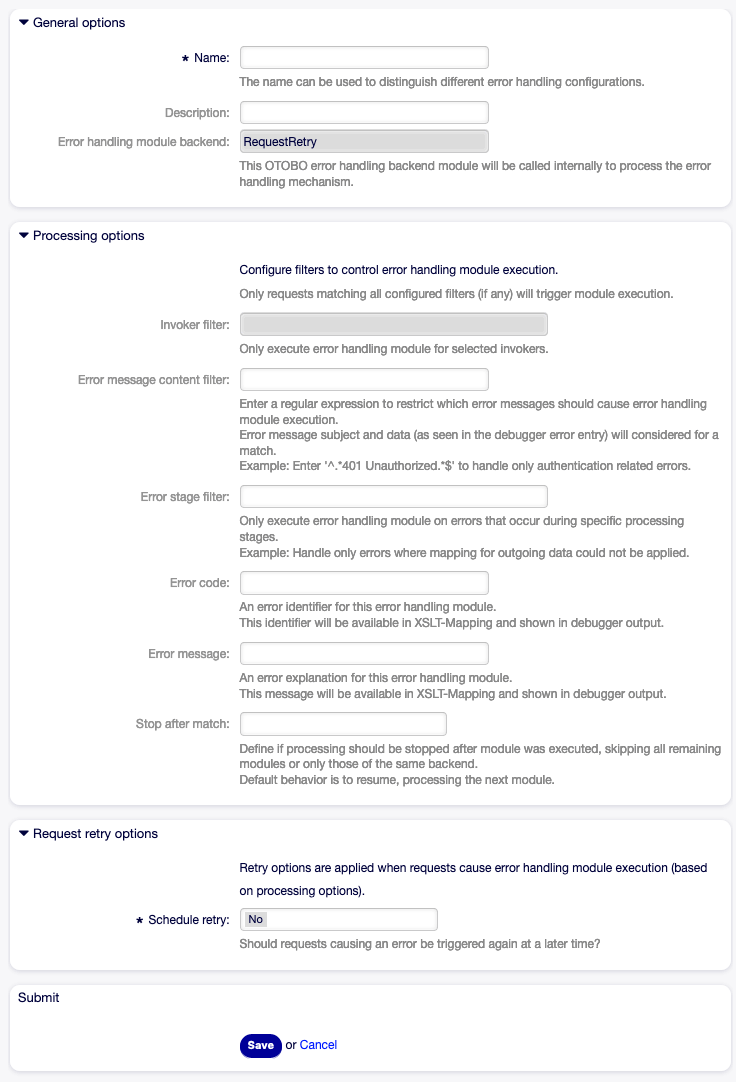
Web Service Settings - OTOBO as Provider - Error Handling Module
OTOBO as Requester - HTTP::REST

Web Service Settings - OTOBO as Requester - HTTP::REST
OTOBO as Requester - HTTP::SOAP
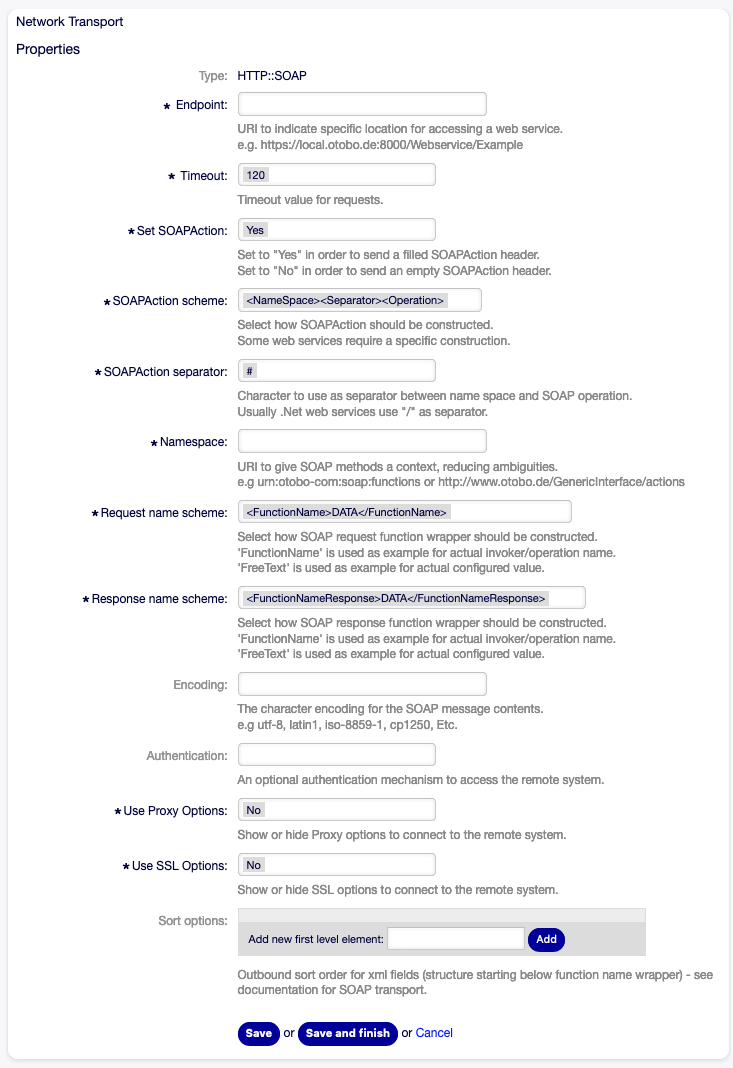
Web Service Settings - OTOBO as Requester - HTTP::SOAP