Customers ↔ Groups
Your organization grows, and it’s not practical at some point to assign permissions to individual users, you need to assign the permissions to all customer users of a customer.
OTOBO allows you to assign group permissions to a customer. Access works just the same as for agents, preventing a customer from modifying and viewing a request. Thus allowing the customer to focus on the results of the original communication and funneling the discussion through one ticket.
See also
Assign a single customer user to a group using Customer Users ↔ Groups.
Use this screen to add one or more customers to one or more groups. To use this function, at least one customer and one group need to have been added to the system. The management screen is available in the Customers ↔ Groups module of the Users, Groups & Roles group.
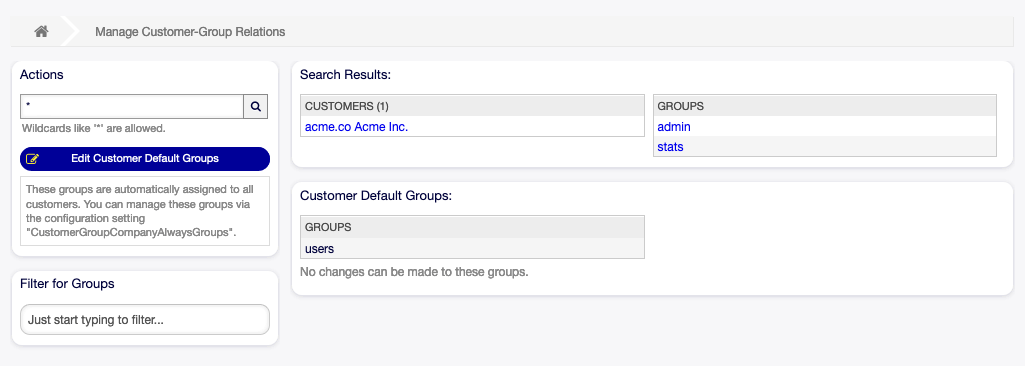
Manage Customer-Group Relations
Customer group support needs to be enabled in at least one customer user back end to use this function. For the default OTOBO back end, this can be enabled in the system configuration by clicking on the Enable it here! button.
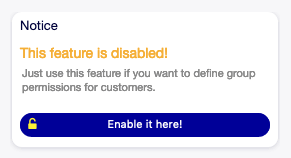
Enable Customer Group Feature
Note
To enable this feature in systems using a directory server or multiple non-default back ends, a custom configuration file needs to be placed in Kernel/Config/Files (for example named ZZZ_CustomerBackend.pm). Once activated, all customer users from this back end will require group assignment.
Warning
After making changes to the back end, the server cache will be deleted, which may cause a temporary drop in performance.
Manage Customers ↔ Groups Relations
Note
To be able to use this feature, you have to activate its setting first.

Enable Customer-Group Support
To assign some groups to a customer:
Click on a customer in the Customers column.
Select the permissions you would like to connect the customer to groups with.
Click on the Save or Save and finish button.
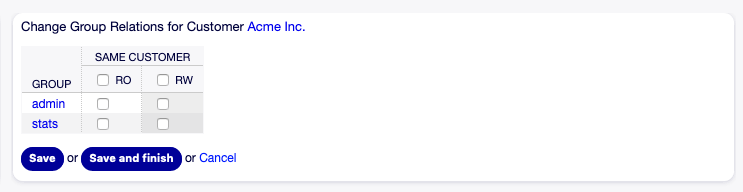
Change Group Relations for Customer
To assign some customers to a group:
Click on a group in the Groups column.
Select the permissions you would like to connect the group to customers with.
Click on the Save or Save and finish button.
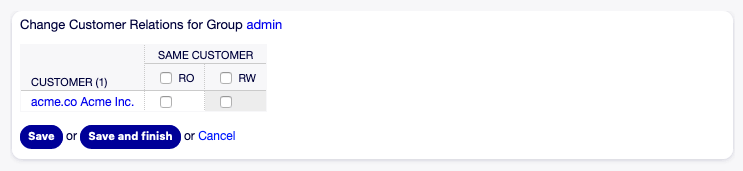
Change Customer Relations for Group
To change customer default groups:
Click on the Edit Customer Default Groups button in the left sidebar.
Add or modify groups in setting
CustomerGroupCompanyAlwaysGroups.Deploy the modified system configurations.
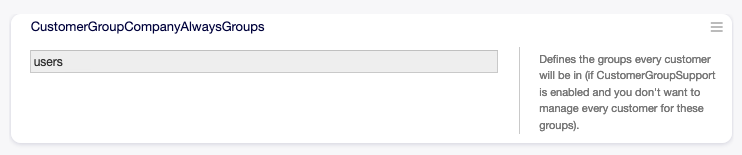
CustomerGroupCompanyAlwaysGroups System Configuration Screen
These groups are automatically assigned to all customers.
Note
If several customers or groups are added to the system, use the search box to find a particular customer or use the filter box to find a particular group by just typing the name to filter.
Multiple customers or groups can be assigned in both screens at the same time. Additionally clicking on a customer or clicking on a group in the relations will open the Edit Customer screen or the Edit Group screen accordingly.
Warning
Accessing a customer or a group provides no back link to the relations screen.
Customers ↔ Groups Relations Reference
When assigning a customer to a group or vice versa, several permissions can be set as connection between a customer and a group. The following permissions are available by default:
- Same Customer
Gives customer users group based access to tickets from customer users of the same customer (ticket
CustomerIDis aCustomerIDof the customer user).- ro
Read only access to the resource.
- rw
Full read and write access to the resource.
Note
By setting a checkbox in the header of a column will set all the checkboxes in the selected column.